
Building a shed might seem like something outside of your skill level, but it’s not as hard as it may seem. With the right plan, tools, and attitude, you can build your own shed just like a pro would. Regardless of your current skill level, this guide will help you learn the steps to building a shed from start to finish. Follow them and you’ll have an aesthetically pleasing shed that matches perfectly with your needs.
Planning and Preparing to Build a Shed
Building a shed isn’t something you do on a whim. It takes planning and preparation to do it properly. Part of this preparation includes checking the legality of building the shed, so be sure not to skip the planning stage.
This phase can be broken down into several steps. By carefully completing each, you’ll set yourself up for a successful build with minimal potential problems down the road.
Select a location
Where will you put your shed? There are many factors to consider in this decision. You want a location that’s easily accessible, especially if you will be entering the shed frequently. You may also want to consider sunlight exposure if the shed will contain windows. Local building codes, property lines, and the locations of utility lines must also be considered.
Choose the Size and Design
Consider what you’ll be using your shed for and begin to look for reference designs. How do other sheds that serve the same purpose as yours look? What features set them apart from sheds with different purposes? Do they have gable roofs, a lean-to design, or something more complex? Also, consider what your foundation will be made of. Concrete is a common choice, either as a slab or as piers. Wood frames or metal frames on a bed of gravel are popular and easy to build.
Gathering Materials and Tools
With the design decided on, it’s time to gather the required tools and materials. This way, there will be no interruptions or unexpected problems during the construction process.
- Materials: Your plan will dictate the exact materials you need. Lumber, nails, screws, roofing materials, and door hardware are commonly used. You may also need siding, window hardware, and other materials for specialized designs. Don’t forget the concrete or gravel for your foundation. Ready-made metal frames are available for easy foundation setup.
- Tools: A tape measure, circular saw, drip, framing square, hammer, level, and safety gear are required tools for constructing a shed. If you don’t have all of them, you can rent or borrow them to save money.
Site Preparation and Shed Foundation
A solid foundation will provide you with a stable and durable shed. The first step to building the foundation is to clear the area. Remove any obstacles, rocks, or debris from the site and level the ground as much as possible.
If you’re using a concrete slab, dig and level the areas, install the formwork, and pour the concrete. Follow the directions on the concrete to ensure it’s properly mixed and cured.
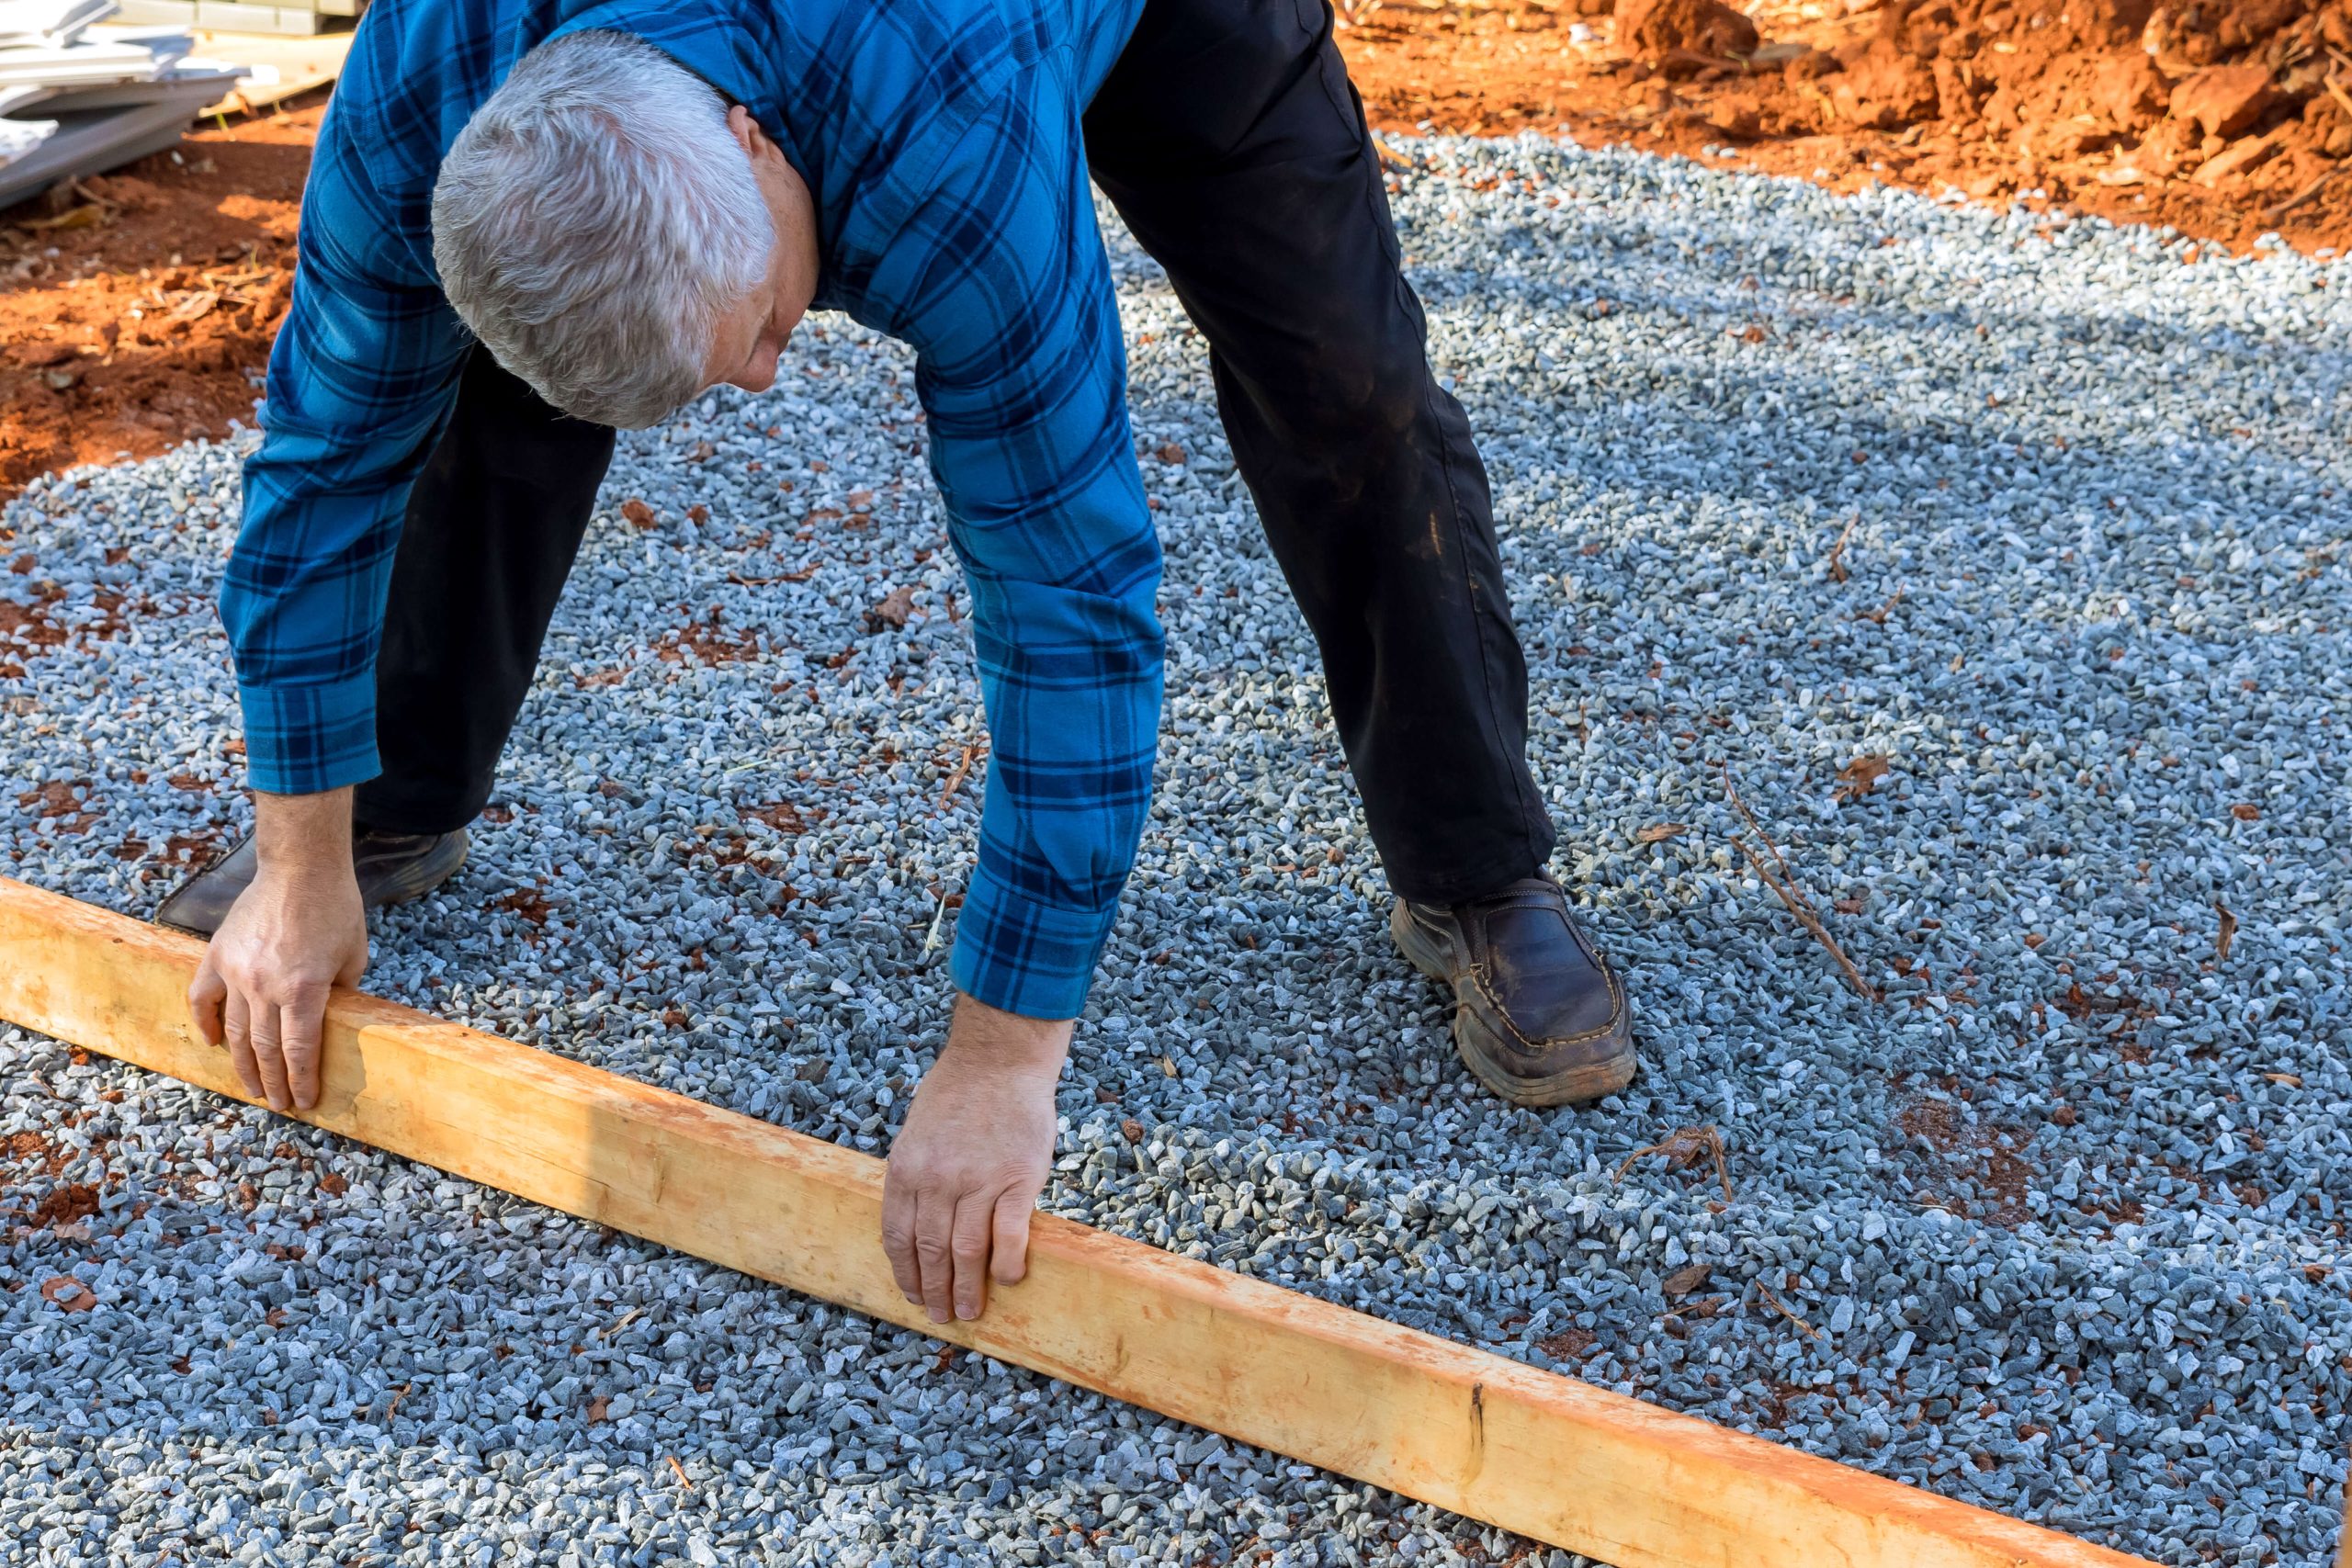
If using gravel, create the formwork to hold it and spread the gravel evenly in the area. Then build a wooden or metal foundation on top of it. Pre-built metal foundations will provide you with instructions and a very easy foundation build.
Construct the Frame
With the foundation in place, the real work can begin. This is where you’ll build the skeleton of your shed, its frame. This phase can be broken down into a few steps.
- Wall Framing: Cut your lumber and assemble each wall according to your design. Use a framing square to ensure accurate right angles. Attach the pieces with nails or screws.
- Ruff Trusses: Similarly to the wall frames, construct the roof trusses or rafters based on your shed’s design. Keep them near where they’ll be used as well.
- Assemble the Walls: Stand each of the wall frames upright and secure them to the foundation. Using your level and framing square, ensure that the walls are plumb.
- Install Roof Structure: To finish off the frame, lift the roof trusses or rafters into place and securely attach them to the frame. Install any necessary bracing for stability.
Exterior Finishes
With the skeleton in place, it’s time to finish the exterior.
The Base Layer
Begin by attaching plywood to the walls. Remember to cut the plywood so that you leave spaces for the doors and any windows that are in your design. If you plan on using shingles for your roof, attach the base plywood to the roof trusses as well. If you’re using metal roofing or some other material, attach that instead.
The Outer Layer
Many sheds stop at plywood for the exterior walls, though you can attach the siding of your choice to it for further aesthetic value. Follow the instructions that came with the siding for proper installation. If your roof is using shingles, now is the time to attach them as well. The roof will get a lot of rain, so be sure that everything is properly waterproofed.
The Finishing Touches
Finally, install the doors and windows to your shed. These too are sources of water seepage, so take care to properly weatherproof and seal them. Next, paint any areas that need to be painted. If your design includes decorative items such as shutters, attach them now.
Interior Finishes
Depending on what you’re using the shed for, the interior could be considered finished already. For basic storage, little more is needed than whatever flooring your foundation provides and unfinished walls.
For other purposes, you may want to go further. If you’ll be spending a lot of time in the shed, you should add insulation to the walls and finish them with plywood or drywall. Finish the basics with the flooring material of your choice.
From there, you can add shelves, furniture, or whatever other additions you need to make the shed fit your needs.
Find All of Your Shed-Building Supplies at Builders
If you’ve already got a plan drawn up, our Kearney hardware store has all of the building supplies you’ll need to make that plan into a beautiful and functional shed. If you have an idea in your head, but need help fleshing out the idea and drawing up plans, or drafting and estimating service can get your raw idea into a workable design quickly.