
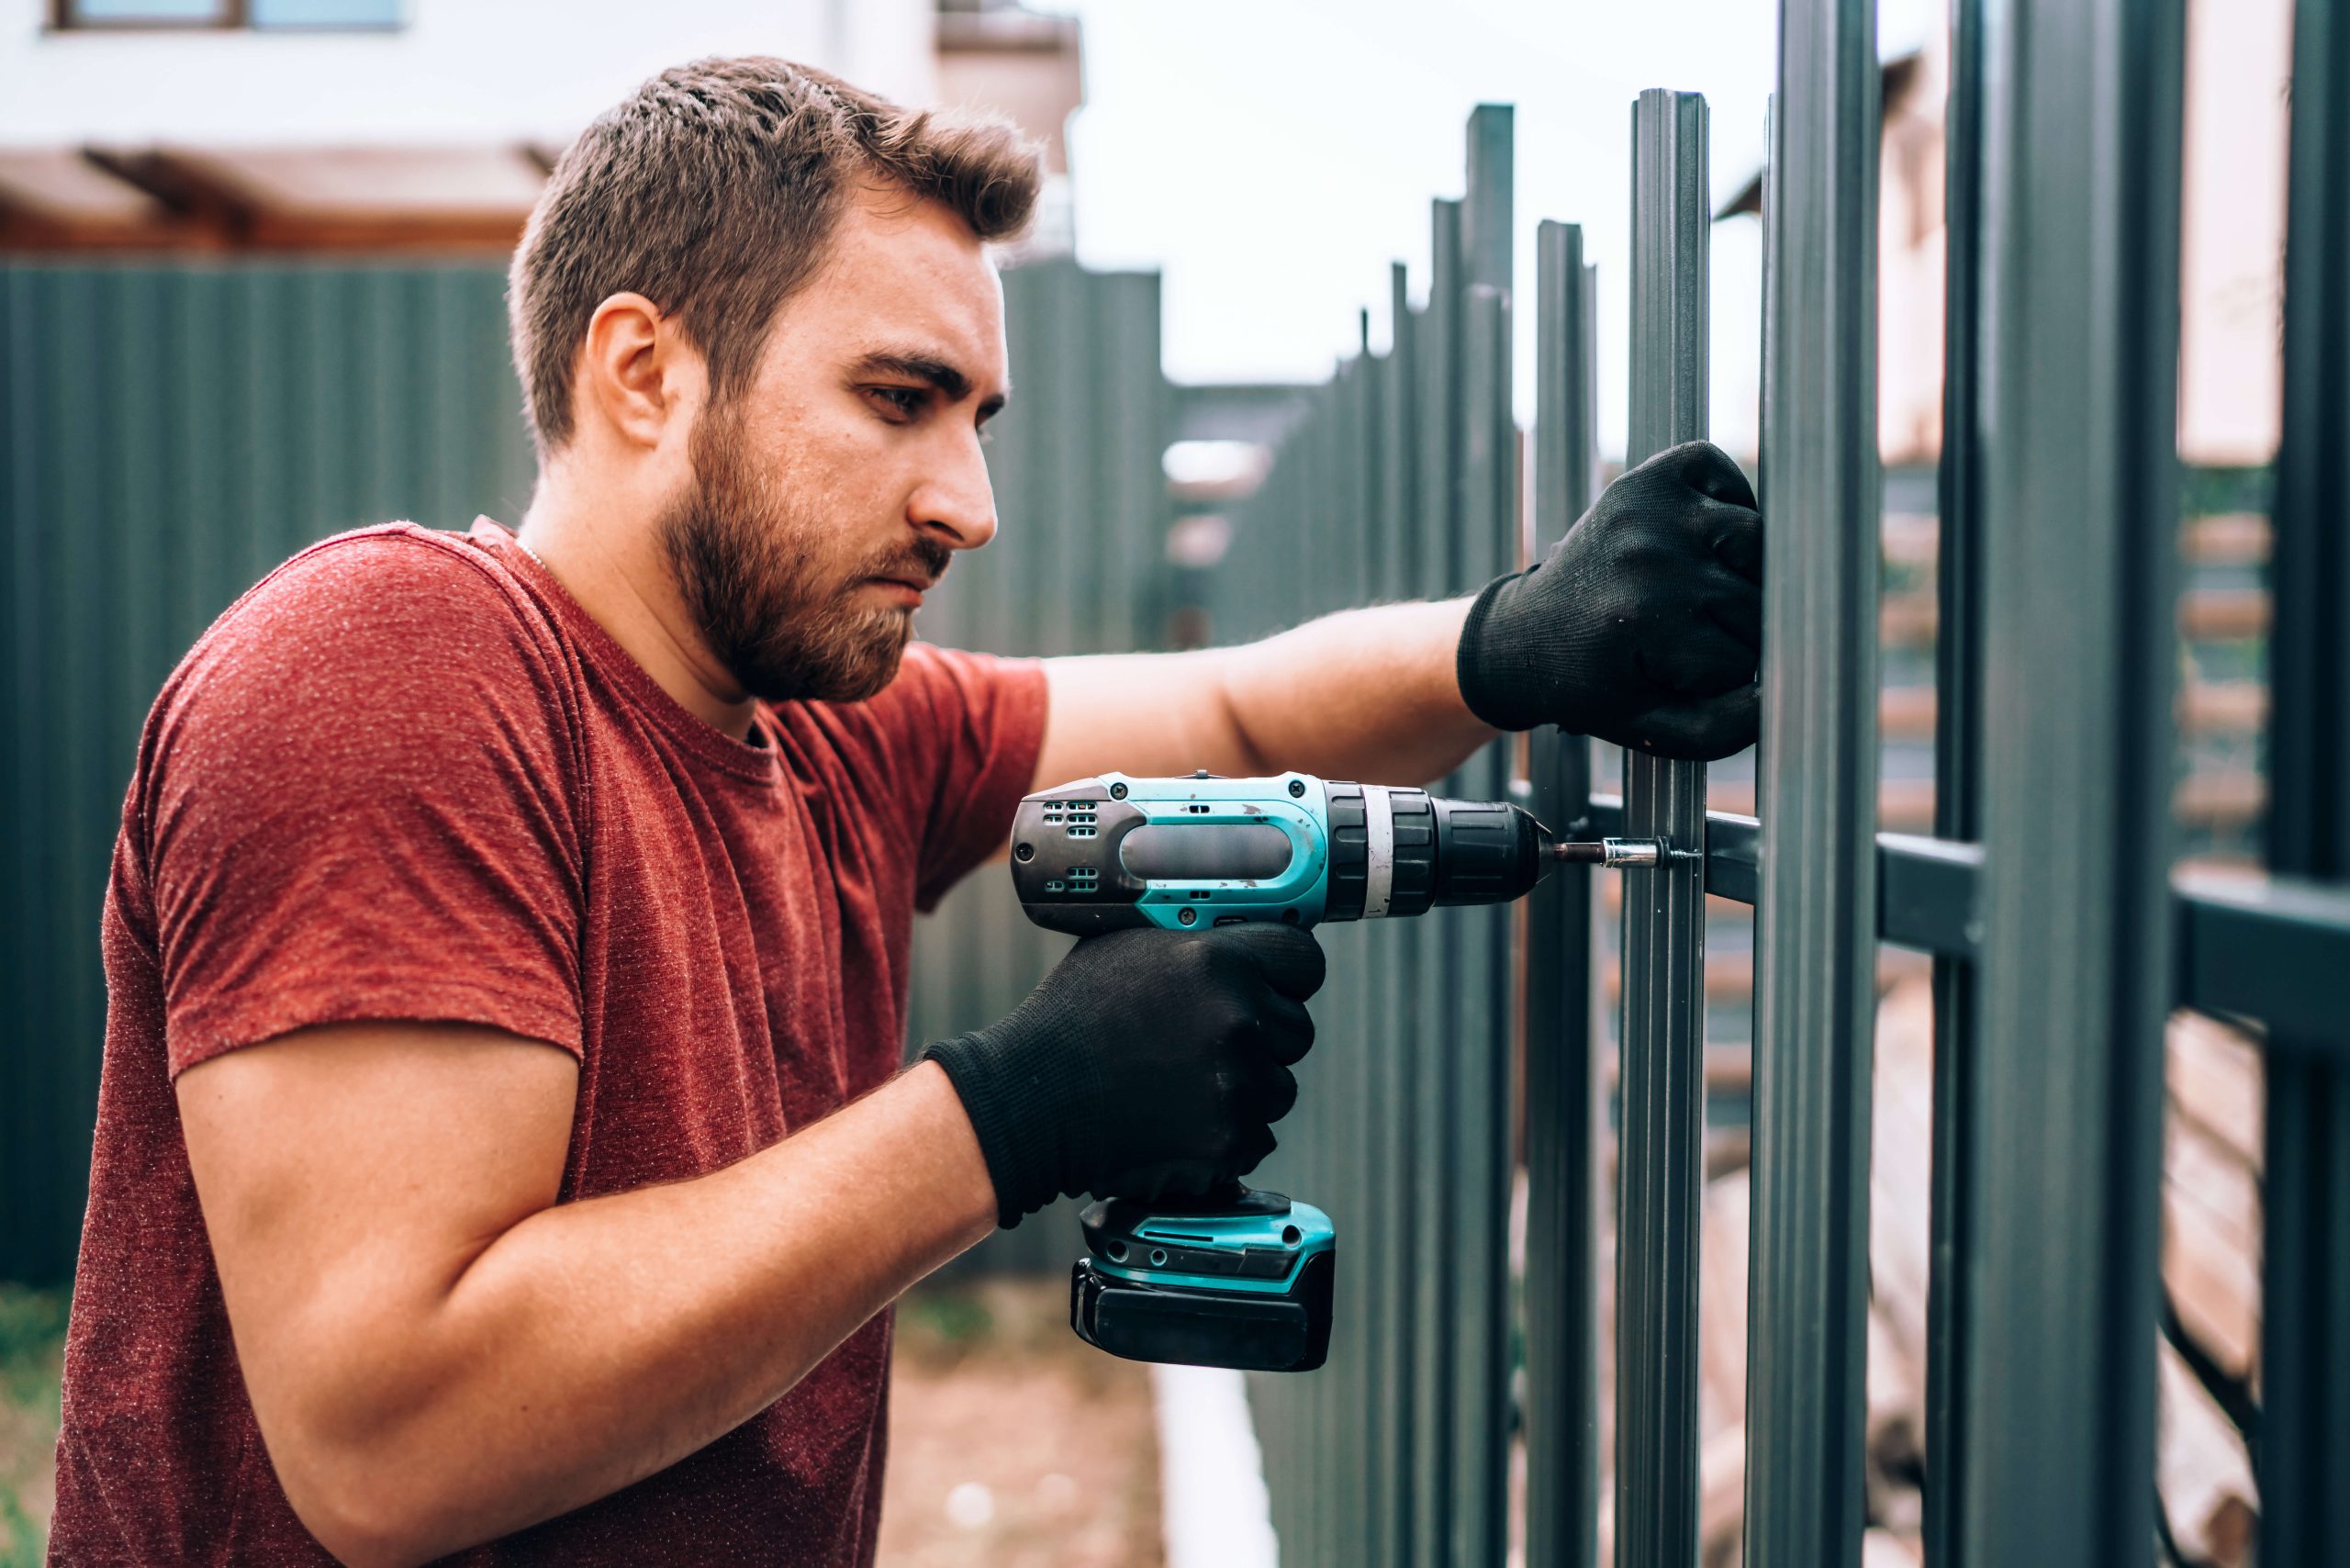
As a homeowner, there’s a lot you can gain from installing a fence. Not only does a fence add a sense of privacy, but it also offers protection from intruders and animals. A fence may also provide a safe environment for your pets to roam around and for children to play while keeping passersby at bay.
Fortunately, fences are relatively easy to build. The process of building a fence is relatively straightforward and doesn’t require a lot of tools or skills. With proper guidance, you can build your very own fence that will serve you for years. Here are our tips for how to build a fence like a pro:
Check on any codes, permits, and local restrictions
First things first: ensure that building a fence is not going against any laws or regulations in your neighborhood or city. This will save you from having to tear it down after all your hard work.
Consult with your local neighborhood association or planning department and obtain any necessary building permits from your local municipality. These codes may also guide you on acceptable fence sizes and types, as well as fence post locations you should employ.
You might need to call your local utility company to mark any sites where wires or pipes are positioned to ensure your project starts out on the right foot.
Choose the type of fence you want to build
Once you’ve done all the necessary property line research and know your city fence codes, it is time to pick a fence type. A few popular choices include:
- Vinyl fence – Plastic-based material that offers durability and a clean, attractive look. These types of fences are especially easy to clean and are particularly low-maintenance.
- Wood fence – Wood fences are the most environmentally friendly option. You can usually choose from a variety of wood types, including Cedar, Redwood, and Southern Pine. Builders recommends you choose a local wood species in order to ensure that your fence holds up against environmental conditions.
- Composite fence – Offers the look of a wooden fence, with the low-maintenance perks of a vinyl fence. A composite fence may cost more upfront, but overtime will stand up well against the elements.
- Metal fence – A great option for when you’d like to set clear boundaries around your property, but would like to keep the view. Metal fences are typically quite sturdy and can be the easiest type to install.
- Chain-link fence – This metal fence is made using galvanized steel wire intertwined into diamond-shaped patterns. Chain link fences are mainly used as security fences. You’ll find them in parks and other outdoor recreation areas.
When choosing your fence, it’s important to consider your reason for building the fence in the first place. Is it for security, privacy, or simply keeping your pets and children safe? Once you establish this, you can settle on any of the above styles.
Locate any underground utility lines and mark them
Your property probably has a number of utility lines laid out underground, including gas, power, water, and sewer. The last thing you need when digging holes for your fence is to damage any one of them.
Therefore, before you begin the project, call your local utility company to help identify their positions. Make sure you mark their location clearly in the ground to avoid them when you start the project.
Measure your fence area and mark the layout
For material and resource planning, you’ll need to know the exact dimensions that your fence will cover.
- Start by measuring your fence line using a measuring wheel or tape measure. Make sure you outline the fence line and your gate location using chalk or spray paint.
- To determine the number of panels you’ll need, subtract the length of your gates from the total length, and divide the remainder by the size of your panels
- You can also determine the posts you’ll need by dividing the fence length by your preferred spacing length. Ideally, you’ll want about 6 to 8 feet between each post.
Building the fence
Once done with all the preparations, it is time to build the fence. It is important to note that each fence style has its own specific construction and board placement techniques.
This article addresses a general method for fence building and will likely apply to most fence styles. For best results, consider consulting a hardware store about other specifics according to your style of choice.
Dig the post holes
When digging a post hole, there are three main steps you should follow:
- Using a post hole digger or shovel, dig post holes every 6 – 8 feet along your fence line. Ensure that the spacing is the same between each post and that it’s in accordance with your city codes. Best practice is to dig a hole that’s 1/3 of the length of the post. This can be 2 feet hole for a 6-foot post.
- Pour about 3 inches of gravel, and add 6 – 8 inches of concrete mix. Then position your post at the center of the mixture. Use a level to plumb the post to ensure it’s correctly positioned.
- Finally, let the concrete mix dry according to the manufacturer’s instructions. Depending on the type of mix you choose, this can take a few days.
Install rails
After the concrete mix has fully set, attach your rails to the post using nails or deck screws. The number of rails you’ll need will depend on the style and design of the fence you are building. This can be about 3 rails for a privacy fence.
Install panels or pickets to the rails
Using a hammer or drill, attach your pickets to the rails. You can use a level to install the first picket. A space block can help set the rest. If this process seems too tasking, you can install panels instead. Panels can be directly installed on the posts, so you won’t have to use rails. They can also be easily removed to create entryways in the future.
Once all this is done, you can use a wood preservative to treat your fence and prevent rotting. Afterward, you can add a stain, your paint of choice, or a weatherproof finish to increase longevity.
Install a gate
Of course, you can’t build a fence without a nice gate to provide a point of entry. When installing the gate:
- Start by setting up gate posts.
- Measure where your hinges will go and pre-drill them on the post.
- Finally, install the hinges on your gate, attach the gate to the post by its hinges, and you’ll be all set!
Install a fence with help from Builders
And that just about sums it up! While it might take a bit of time and effort to build a fence, you can totally do it on your own. Simply follow the fence-building tips above, take your time to get it right, and you’ll have that beautiful fence up in no time.