As with any home improvement, it’s important that you do the job right when installing a sliding barn door. Failure to do so could result in a door that’s unattractive and doesn’t function as well as it should. In this guide, we’ll go through some common areas that people neglect when installing their doors.
1. Select the Right Door and Hardware
Choosing the right door will greatly improve the aesthetic value it brings to the home. Be sure to consider how the door will look with the rest of the house and find a style that complements its surroundings. The hardware you choose should also match the door.
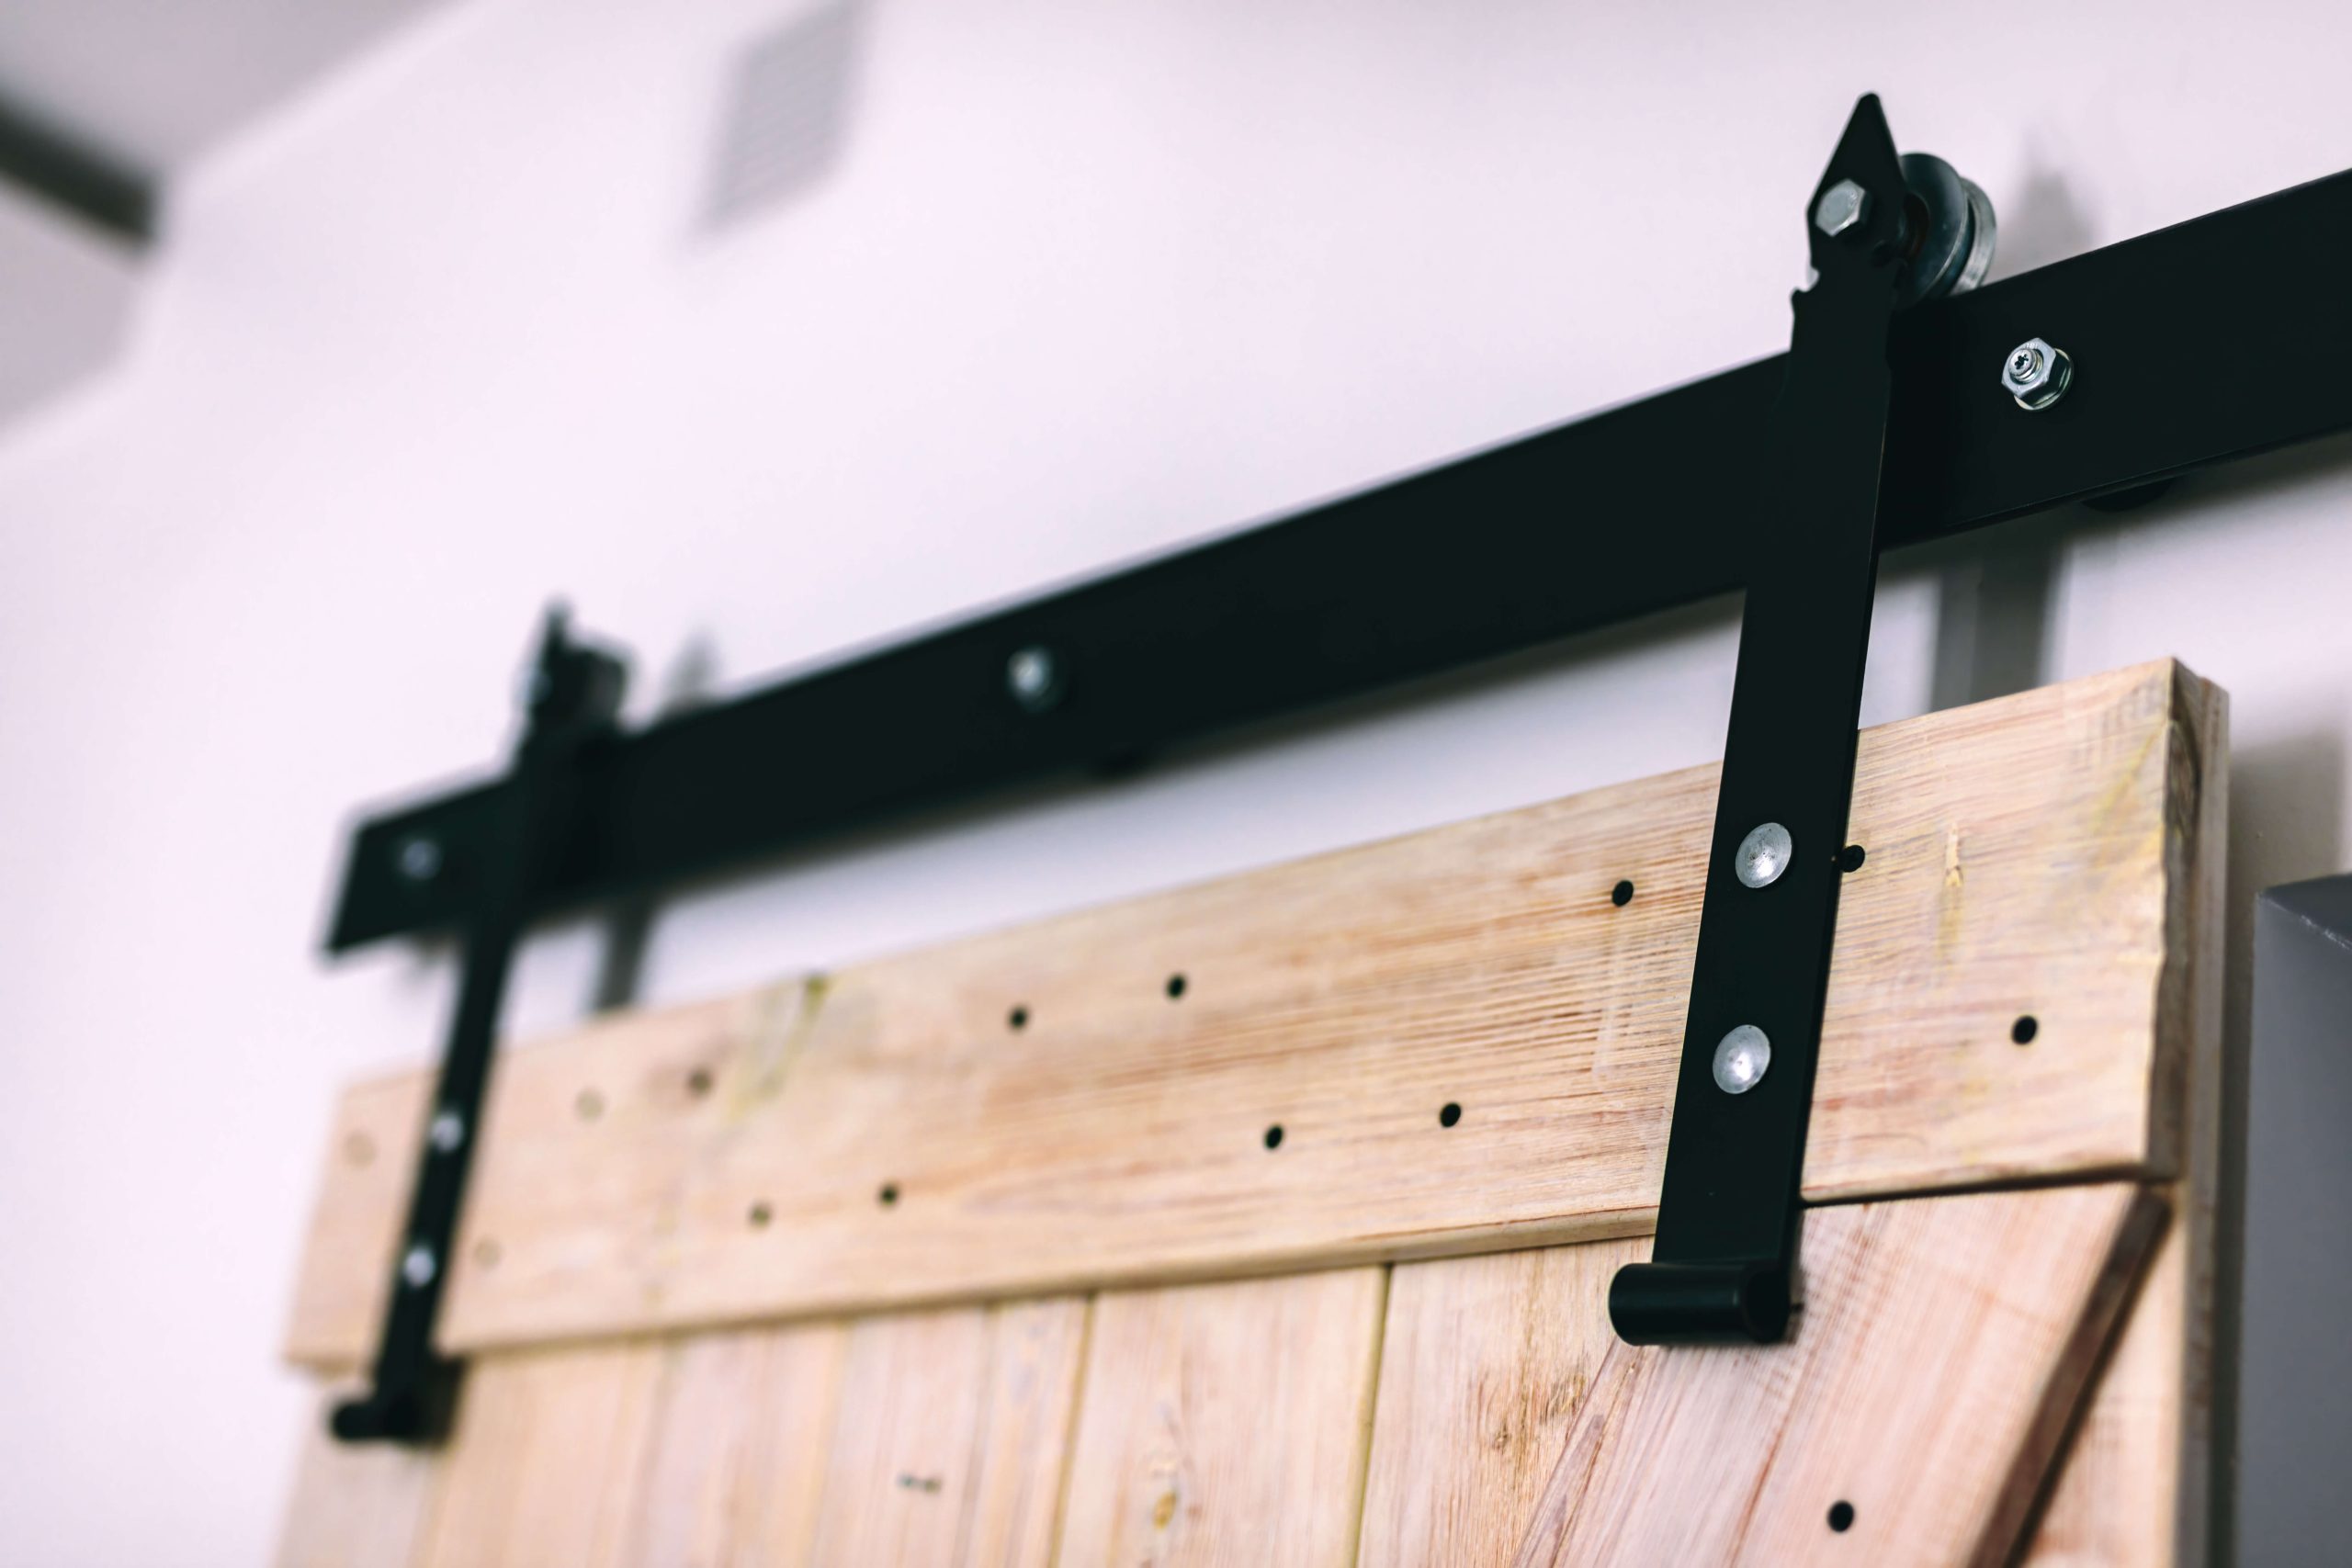
Speaking of hardware, be sure to pick something that’s high-quality enough to provide for a smooth operation of the door. Remember to account for the fact that heavier doors will require heavier-duty hardware to operate correctly.
2. Ensuring Proper Measurement
Doors are meant to fit into a certain size doorway. Sliding barn doors take the requirements a step further, as they’ll be sliding along the wall. Be sure to take proper measurements for each of the following:
- The Door: Make sure the door fits the opening correctly.
- The Rail: The door will be sliding along a rail, it must be long enough for the door to fully open.
- The Wall: The wall should have enough room to accommodate the rail and let the door complete its slide
As you take these measurements, make sure that you’re measuring level and allowing for even spacing, otherwise, your measurements will be inaccurate.
3. Installing the Rail System
When installing the rail system, it must be fastened to wall studs. If not, it will not be sturdy enough to support the weight of the door and can become an accident waiting to happen. Be sure to locate and mark wall studs as you go about your measuring and installation.
Similarly, if the rail isn’t securely fastened to the wall, it could still fail to hold the door properly. Ensure that its fasteners are properly anchored and tightened well. As you fasten it, use a level to make sure that it isn’t crooked.
4. Attaching the Door to the Rollers
Installing the door on the rails can be a tricky process. As you set up the initial alignment, make sure the rollers are positioned correctly. Use a level to make sure that the door is installed straight.
With the door properly aligned, you need to attach the rollers to it. As you do, make sure that they’re positioned in such as way that the weight of the door is evenly distributed across the rail. Use sturdy screws and tighten them securely to assure smooth operation.
You might not get everything right the first time. When you get the door installed on the roller, be sure to test the sliding mechanism a few times and check for any areas of unwanted friction or misalignment so you can fix them before calling the project complete.
5. Adding a Door Stopper and Guide
Although the rail itself is all you need for a functioning sliding door, it’s not the only part of a well-functioning one. Installing a door stopper at the end of the railing will prevent the door from over-sliding and coming off the rail.
A floor guide provides an extra groove for the door to travel in. This fixture provides for a more smooth and controlled motion of the door and reduces the finickiness it will display when opening and closing it. It can also prevent damage to the floor from the sliding door.
Install a Barn Door with Help from Builders
Whatever style you decide for your door, you’ll be able to find the building supplies you need to ensure a successful and quality installation at Builders. If you find we don’t have exactly what you want, simply ask one of our friendly staff members if we can order it for you.